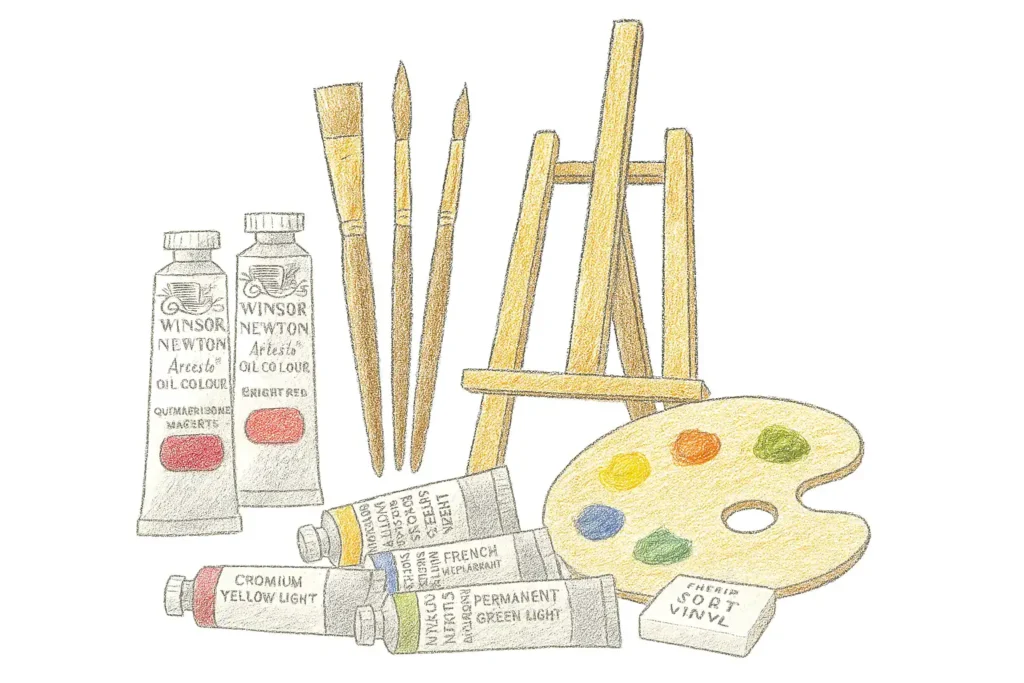
Paints — Start with a Limited, Professional Palette
A small set of professional or student-grade oil paints gives you everything you need to mix almost any colour. I always recommend beginning with a warm and cool version of each primary, plus white.
Suggested colours:
- Titanium White
- Lemon Yellow (cool)
- Yellow Ochre (warm)
- Cadmium Red or Permanent Alizarin Crimson
- Ultramarine Blue (warm)
- Phthalo Blue (cool)
- Burnt Sienna
- Raw Umber
Recommended sets:
Tip: Start small — it’s better to have six rich colours than 24 weak ones.
Brushes — Variety and Durability Matter
For oils, you’ll need brushes that can handle thicker paint and solvents. A few good-quality hog bristle or synthetic brushes will last far longer than cheap packs.
Suggested types:
- Flats for broad strokes
- Filberts for blending and soft edges
- Rounds for detail
- Fan brush (optional) for texture and soft blending
Recommended sets:
Tip: Buy long-handled brushes — they encourage better posture and freer, more expressive strokes.
Palette and Knives
A wooden or glass palette gives you space to mix paint properly. You’ll also want at least one palette knife for mixing and texture work.
Recommended tools:
Tip: Mix colours with a knife, not your brush — it preserves your bristles and keeps paint clean.
Painting Surfaces
Oil paint needs a primed, non-absorbent surface. As a beginner, pre-primed surfaces save a lot of prep time.
Recommended surfaces:
Tip: Always check your surface says “suitable for oil paint” or “triple-primed with acrylic gesso.”
Easel
A sturdy easel keeps your work upright and comfortable to paint on. Table easels are great for small spaces, while studio easels suit larger works.
Recommended options:
Tip: Make sure the easel tilts slightly back — it helps control drips and perspective.
Drawing Tools
Before paint comes drawing. A few pencils or sticks of charcoal help you sketch compositions and plan your tonal structure.
Suggested materials:
Tip: Keep your drawing light — oil paint is semi-transparent and can show dark graphite beneath.
Mediums and Solvents
Mediums control the consistency and drying time of oil paint. Start with one or two simple ones to learn how they behave.
Recommended:
- Winsor & Newton Sansodor – low-odour solvent for cleaning and thinning
- Refined Linseed Oil – improves flow and increases gloss
- Zest-It Citrus-Free Solvent – non-toxic alternative for sensitive users
Tip: Avoid mixing too many mediums at once; get used to the feel of your paint first.
Cleaning and Maintenance
Cleaning is part of painting — and good habits will save your brushes.
Essentials:
- The Masters Brush Cleaner and Preserver – excellent for daily cleaning
- Rags or paper towels – wipe excess paint before washing
- Metal brush washer pot – keeps solvent clean while removing pigment
Tip: Never leave brushes standing in solvent. It bends the bristles and ruins the ferrule.
Optional Additions
- Glazing Medium – for thin transparent layers
- Varnish – to protect finished paintings after they’re fully dry (6–12 months)
- Apron or smock – oil paint doesn’t come out of clothes easily!
Final Thoughts from Clara
“Oil painting rewards patience and care — in both your materials and your approach. Start small, work cleanly, and take time to learn how your paint behaves. The best beginner’s kit isn’t the one with the most colours, but the one that helps you understand light, tone, and texture.”
With a compact, high-quality kit like this, you can focus on developing your technique — and avoid the frustration of poor materials holding you back.

